Smokey Eyes: Step-by-Step Guide to the Timeless Makeup Look

Smokey Eyes: Step-by-Step Guide to the Timeless Makeup Look
Smokey eyes are one of the most iconic makeup looks of all time. They exude elegance, mystery, and confidence—and can be adapted for everything from a night out to a more subtle daytime style. While the look may seem complicated, it’s really all about the right techniques and smooth color transitions. Here’s a step-by-step guide to mastering the classic smokey eye.
Prep Your Skin and Eye Area
Every great makeup look starts with a good base. Cleanse your skin and apply a lightweight moisturizer so your makeup goes on smoothly. Then, use an eyeshadow primer on your lids—this helps the shadow last longer and prevents creasing.
If you tend to have dark circles, apply a concealer under your eyes. This brightens the area and balances the contrast with the darker eye makeup.
Choose the Right Shades
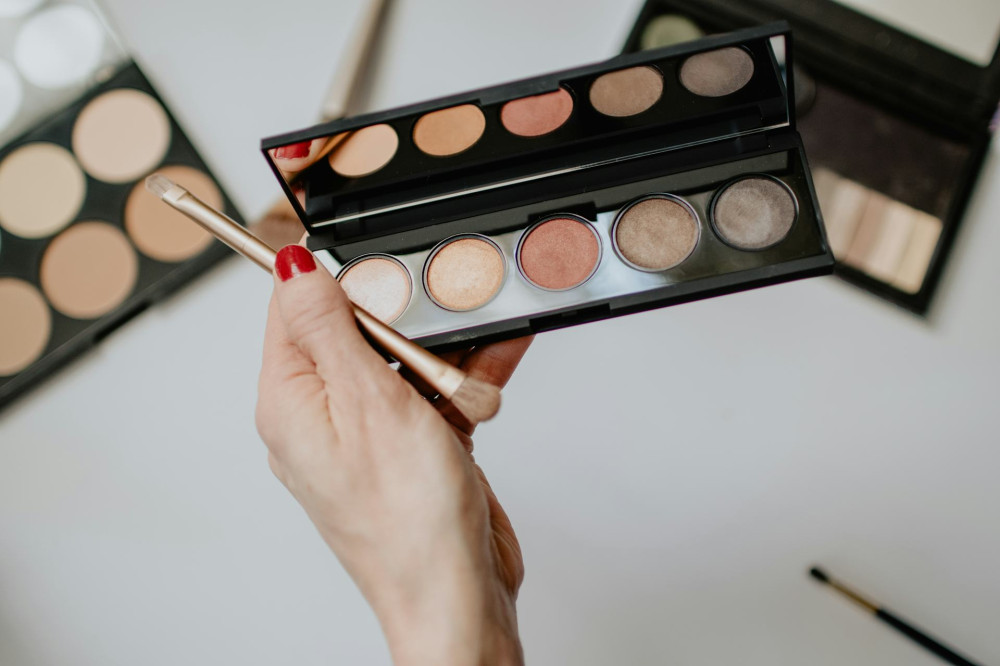
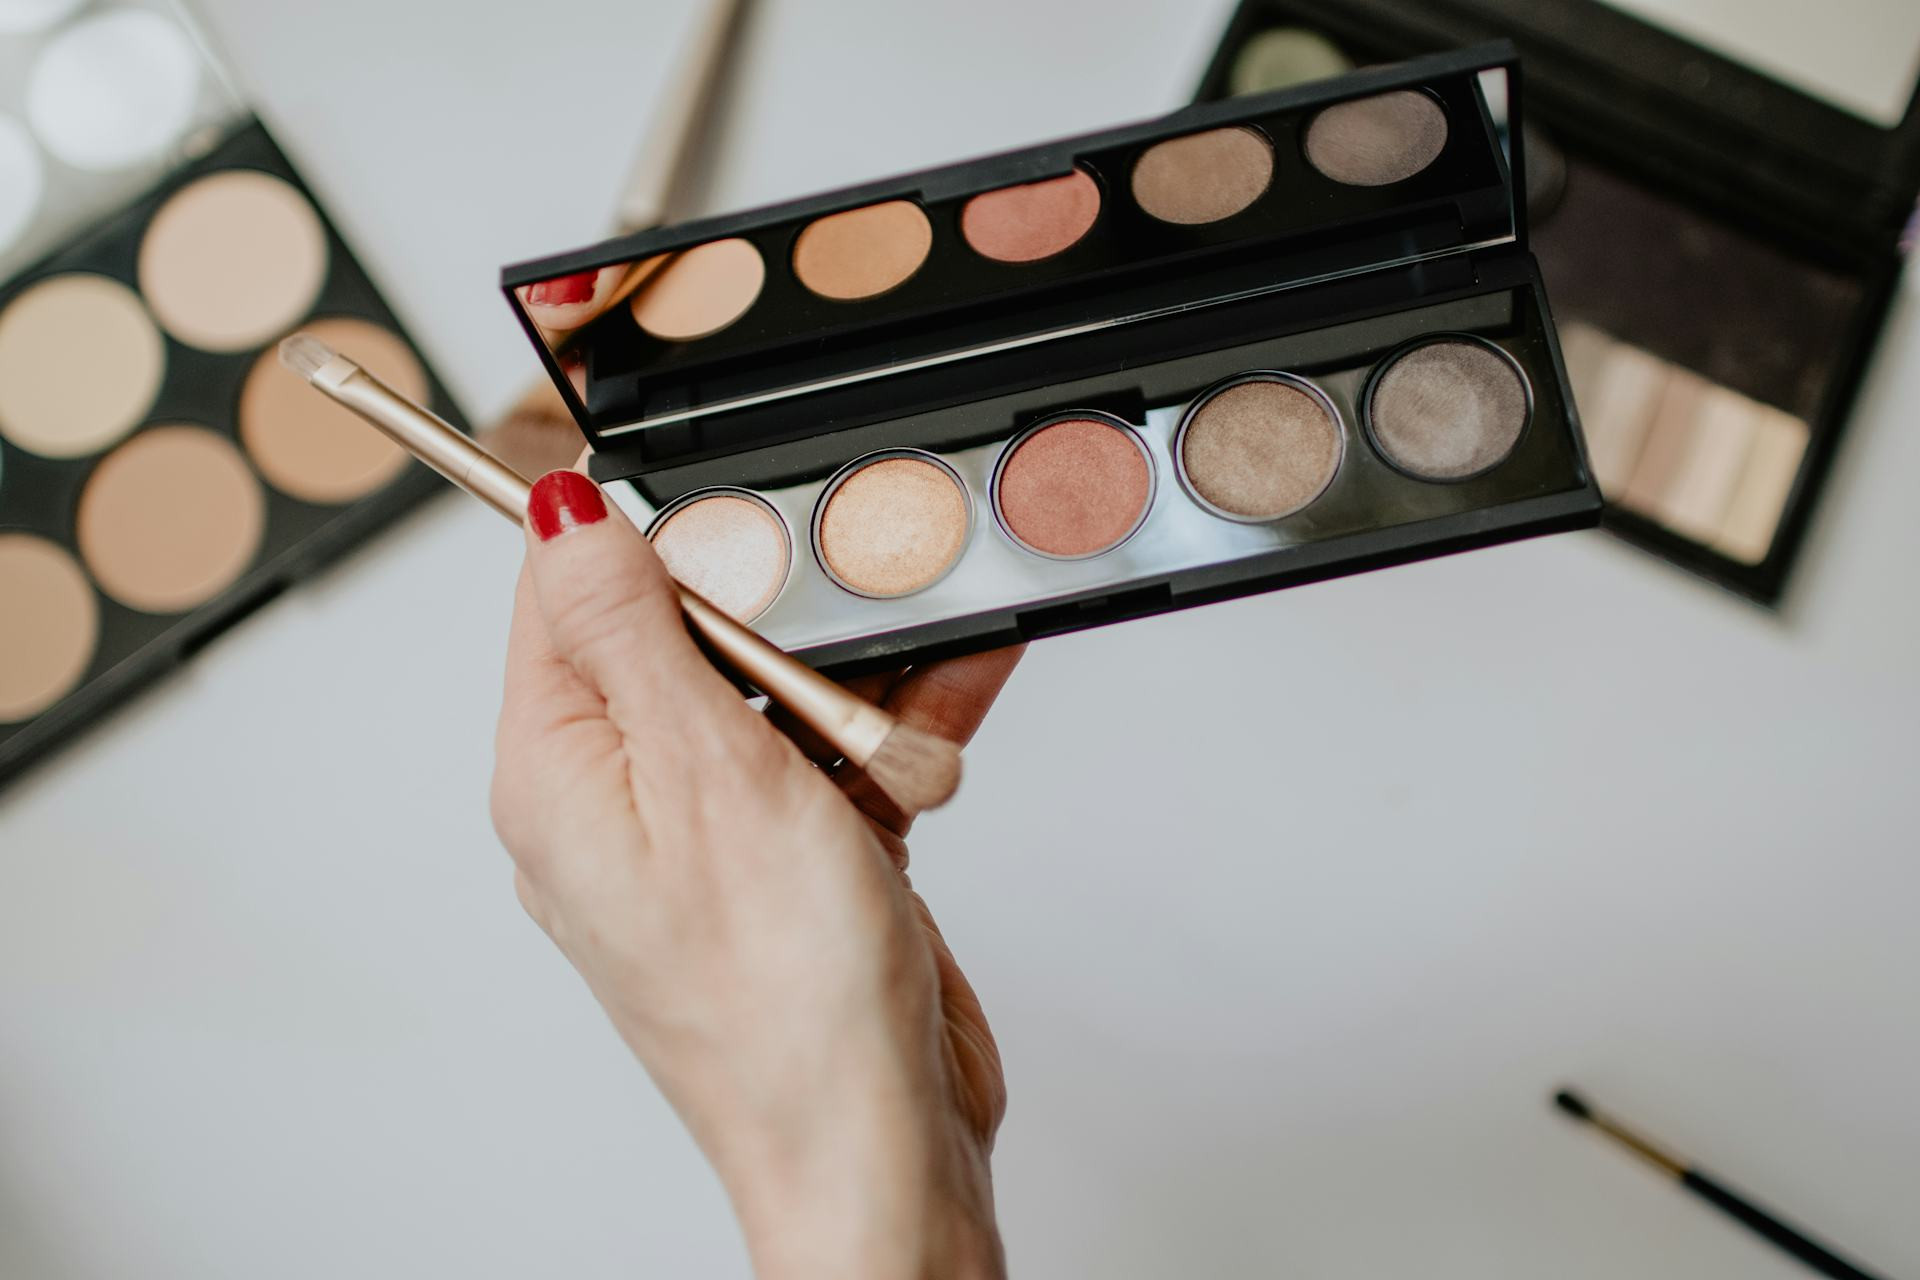
While classic smokey eyes are often associated with black and gray, the look can be created in many color combinations. The key is to work with dark, medium, and light shades of the same color family.
- Black and gray – the classic, dramatic version.
- Brown and bronze – a warmer, more natural look.
- Navy or deep green – great for enhancing eye color and adding a modern twist.
- Plum and purple tones – especially flattering for green and brown eyes.
Choose shades that complement your skin tone and the occasion. For daytime, go for softer hues; for evening, turn up the intensity.
Step 1: Create a Base Shade
Start by applying a neutral, light shadow all over your eyelid—from the lash line up to just below the brow bone. This evens out the skin tone and makes blending darker shades easier later on.
Step 2: Build Depth with a Mid-Tone
Apply a medium shade (like taupe, brown, or charcoal) into the crease—the area where your eyelid naturally folds. Use a fluffy blending brush and work in small circular motions. This adds dimension and creates a smooth transition between colors.
Step 3: Add the Dark Shade
Now for the signature smokey effect: the dark color. Apply a deep shadow (black, dark brown, or charcoal gray) along the lash line and outer corner of the eye. Blend it upward and inward toward the center of the lid to create that soft, smoky gradient—the hallmark of the look.
A good tip: start with a small amount of product and build up gradually. It’s much easier to add more than to tone it down later.
Læs også:

Step 4: Define with Eyeliner
Use a soft eyeliner pencil in black or dark brown along the upper lash line. You can also line the lower lash line for a more dramatic effect. To keep the look smoky, gently smudge the line with a brush or cotton swab.
For extra intensity, apply a gel or liquid liner close to the lashes, then soften it with a bit of dark eyeshadow.
Step 5: Finish with Mascara and Brows
A smokey eye calls for plenty of mascara to balance the dark shadows. Apply two coats to your top lashes and one to the bottom. For added volume, use an eyelash curler or add a few individual false lashes.
Don’t forget your brows—they frame your face and complete the look. Brush them into shape and fill in any sparse areas with a brow pencil or powder that matches your natural color.
Extra Tips for a Flawless Finish
- Blend, blend, blend: The key to a perfect smokey eye is seamless transitions—no harsh lines.
- Keep balance in mind: When your eye makeup is bold, opt for a more neutral lip color.
- Clean up fallout: Use a cotton swab with a bit of makeup remover to tidy up any shadow that’s fallen under your eyes.
- Set your look: A light mist of setting spray will help your makeup last all night.
Smokey Eyes for Every Occasion
The beauty of smokey eyes is their versatility. For everyday wear, choose soft brown tones and a single coat of mascara. For a night out, amp up the contrast, add shimmer, or go for a metallic finish. No matter how you wear it, the smokey eye remains a timeless, confident look that never goes out of style.
Læs også: